HOW DID YOU USE MEDIA TECHNOLOGIES IN YOUR CONSTRUCTION?
Firstly, I filmed all my footage from a camera, using a tripod. The camera created high quality for my film trailer thus making it look more professional. The camera also allowed me to convey a variety of shots, like long shots, over the shoulder shots and close ups. This made my film trailer more interesting as the shots were not repetitive, keeping the audience on edge.
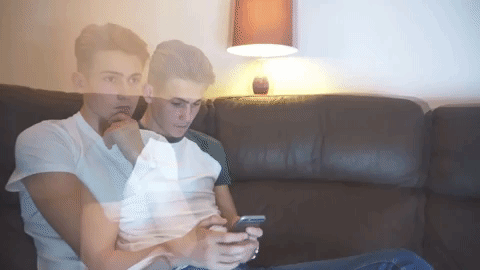
I was then able to upload the creative footage from a memory card to Adobe Premier Pro, on an Apple Mac, so I could edit it and include transitions between the cuts to move in numerous, unusual ways. A common transition used was a fade to black. I did this by going on effects; video transitions; dissolve and fade to black. I then placed it over the two videos where I want the transition. This built suspense within my film trailer. Another transition I used was a film dissolve. I added it by going onto effects, video transitions, dissolve, then placing film dissolve between the two sequences. I changed the duration to 5 seconds to make it last longer, and to emphasise that there is now a past and present Jason and it changed it to start at the center of the cut. Furthermore, another interesting transition i included was a gradient wipe. I went onto video transitions, selected image of the eye clip, made it last 5 seconds, and positioned it towards the end of the eye clip. This brought a clean and crisp transition between the two cuts and gave Jason’s eyes a more unusual look. These transitions are shown below.
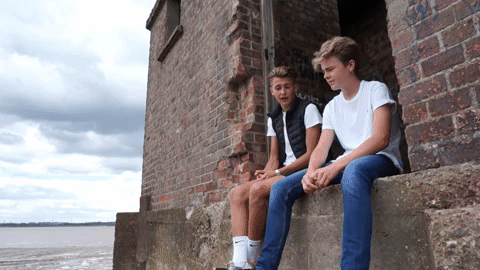
Also, on Adobe Premier Pro, I made a split edit by using the rolling edit tool on the tool bar. I then selected just the video so i unlinked the audio, and put the playhead where I want the edit to happen. Then I pressed E. This allowed the transitions of clips to be more smooth, and thus flow better. In addition, I included a Warp stabilizer by going onto video effects, distort and then, warp stabilizer. I used this because sometimes, when panning the camera, it was shaky. Therefore this balanced it out and made my film trailer look more professional. I also added text by using the text tool, writing the actors names and sliding them across, to create an entrance. Both this text and the warp stabilizer is shown below.

Lastly on Premier Pro, I created a tint on each scene a different parent was in. I did this by going onto video effects, colour correction and tint. For the mother I used a Blue colour = 0415a5 30.8% and for the father I used a green colour = 25844D 25.2%. This made it evident to the audience which reality Tom was in. I also included brightness and contrast. For the scenes of the past with him and his parents, I used a brightness effect, and put it at 32. This bright atmosphere created high key lighting, emphasising that this was a happier time when both parents was alive, yet his head is stuck in his phone.
I also used the brightness for when he was sitting on his phone, and then used contrast at 6.1 to convey the difference. I overlapped these two cuts to show they are two different times, and changed the opacity from normal to screen on both of them so they are both visible at the same time. The past him disappears when in contact with the old him. I was able to do this by shortening the cut to fit the right timing.


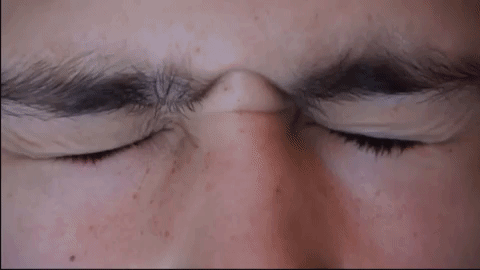
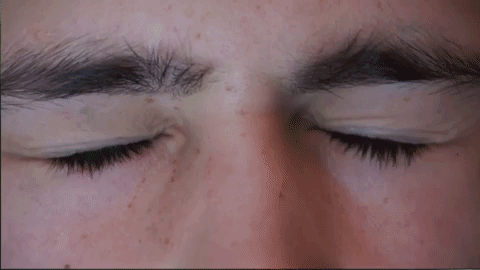
For After Effects, I was able to change Tom's eye colour whilst the eye blinks. I watched a variety of tutorials, and picked the one that i thought suited my film trailer. The steps that were involved were;
-
New composition
-
Import video of eyes blinking
-
Add 2 new layers – null object and adjustment layer
-
Put adjustment layer underneath null layer
-
Using pen tool, draw round eye and then iris on adjustment layer
-
Attach the adjustment layer to the null layer by making it a parent, by pulling the line across from the twirl logo.
-
On adjustment layer go onto mask 2 and change add to subtract
-
Press effect, colour correction then curves.
-
Adapt the line to suit the colour green and RGB for brightness.
-
Adapt the mask feathers for both to create a softer look. Mask 1 is set for 33 and the iris is set for 25.
-
Now press mask path and click the next frame button, adjusting the path to fit the eye each time.
-
Click onto the main clip, animation then track motion.
-
Place the track motion onto the nose and press apply with X and Y dimensions
-
Now go onto mask path on adjustment layer for mask 1 and adjust the path to fit the eye for each frame.
-
Then do it for the mask 2 which is the iris
-
Render and save and import it into premier pro.
The tutorial I chose and my version, are portrayed below.
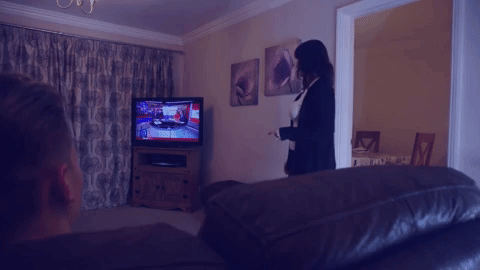
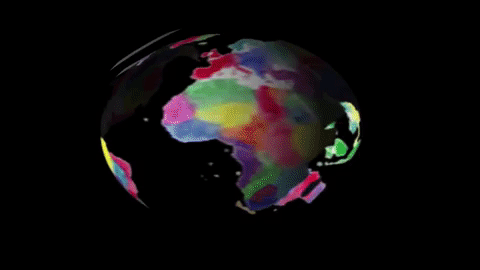
I also made the news broadcast by watching YouTube tutorials, which helped me adapt them to fit my film trailer. I used After Effects and followed the stages, told to me by the tutorial to create the turning world. I liked this idea due to it representing the stereotype of a news report, thus making mine look sophisticated and making the audience form a connection to it as they can relate. The tutorial and my version are shown below.
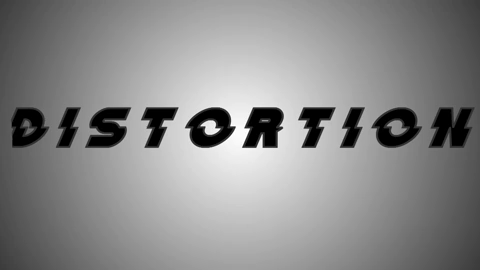
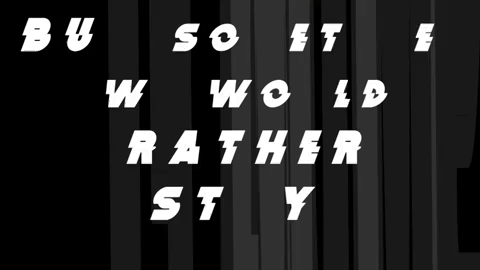
I made the titles on after effects by pressing the title button and typing what I wanted to say”but sometimes we hide from the truth” I changed the font to Distortion and made the spacing to 75 to give it a more cinematic look. I then pressed animation then browse presets and then I chose a transition that suited the theme of my trailer. I chose Blinky. I then rendered and saved it and placed it into premiere pro and cropped it. I increased the speed to 120% to make it a bit faster. I also added a fade to black transition to make it flow with the rest of the clips.
To make my main title I created the text like above, using the same font and added an outline. I made the font black to stand out against the white background. To create the background I made a new solid pressed effect, generate then ramp. I changed the settings to radial ramp and moved the cursors to the centre of the background, and dragged the other one away to make the background go from a bright white to dark grey on the outer edge. I then placed it into premiere pro and put the transition of fade to black.
To make the “coming in April 2018” slide in from the button. I used a skyscraper font for this to represent the tall font of a billing block. I also used this font for the billing block at the end and decreased the spacing to make the font look small.
More about the technology for my Title development, is explained in the link.
I also used Garage Band to produce my music. This is a useful type of technology I used to construct my film trailer because it helped me develop my soundtrack which built suspense and tension, as it increases the audience's senses. Garage Band was a key factor in production because the music was dramatic thus making the audience want to watch the film, which is the purpose of a film trailer. I watched various videos on YouTube which allowed me to gain knowledge on how to use Garage Band professionally. These tutorials are shown below. I made my music by choosing the loops option and playing around with the different settings till I thought it suited my film trailer best.
Once I was happy with my music, I uploaded it to iTunes. I then uploaded it onto Premier Pro and cut and pasted the music numerous times to fit exactly with the visuals on the screen. More about my music development is linked below.